
In this post, I answer the questions, “Why would you want to do this? Are these valid reasons for not upgrading from macOS 10.12.6 to a later system like Mojave 10.14?”
I performed this experiment to see whether it would work. I haven’t upgraded my MacBook Pro from Sierra (10.12) to either High Sierra (10.13) or Mojave because I would lose the ability to run several essential applications that I use every day that are unsupported on those later operating systems.
While I am able to run Mojave 10.14 off of a dual-boot external SSD, I have to reboot my system in order to run it on my laptop. If I could run Mojave as a virtual machine, that would be a game-changer.
For this experimental project, I used VirtualBox 6.1.26 to configure Mojave as a guest OS. Parallels Desktop or VMware Fusion would probably work as well.
INSTALLATION TIPS
- For the installation to complete successfully, be sure to download the Mojave 10.14 iso file available from multiple sites and not the “Install macOS Majave.app” that’s downloadable from the App Store.
- While you can install Mojave into an expanding volume, I strongly recommend that you open VirtualBox’s Virtual Media Manager to create a fixed size volume (e.g., 72 gb) to obtain much faster results. I tried both ways, and installing into an expanding volume took 3 times longer to finish.
- After launching VirtualBox, configure the System tab with the Optical Disk option at the top of Boot Order ahead of Hard Disk, Floppy, and Network. Under the Storage tab, click the tiny blue circle on far right side of the Optical Disk Attributes menu to add Mojave 10.14.iso as your Controller: IDE device.
- Because of Apple’s decision to change its native file system to APFS (starting with High Sierra 10.13), there is one necessary task you need to perform during the Mojave install process. After you click the Continue button that appears on one of the splash screens, you will be presented with the macOS Utilities menu. Don’t immediately click on the Install macOS option. Instead, click on Disk Utility and use that software tool to format your Mojave volume as APFS. Once that finishes, you will taken back to the macOS Utilities menu. At that point, you can now select the Install macOS menu to begin the process.

Once the Mojave installation completed, I performed a few basic tasks:
- I clicked on the VBoxDarwinAdditions.pkg file that is contained in VirtualBox’s Guest Additions file. While the installation seemed to finish without an error, I wasn’t able to drag and drop files between the guest and host afterward, and the video display resolution did not change from 1024×768.
- I successfully installed the Safari and Security updates for Mojave.
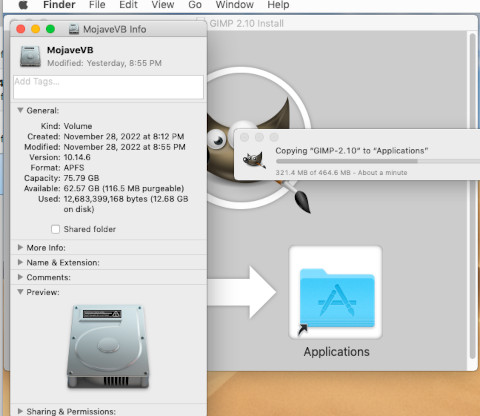
- I installed GIMP (an image editing program) and Telegram Messenger and both launched successfully.
CONCLUSION
While I was pleased that I could install Mojave in this manner, I am not going to make this virtual machine my go-to system. For one thing, video RAM maxxes out at 128 mb using VirtualBox 6.1.26, and I’m sure there are many popular applications that won’t run in this configuration because they aren’t able to gain full access to Apple hardware.

Leave a comment